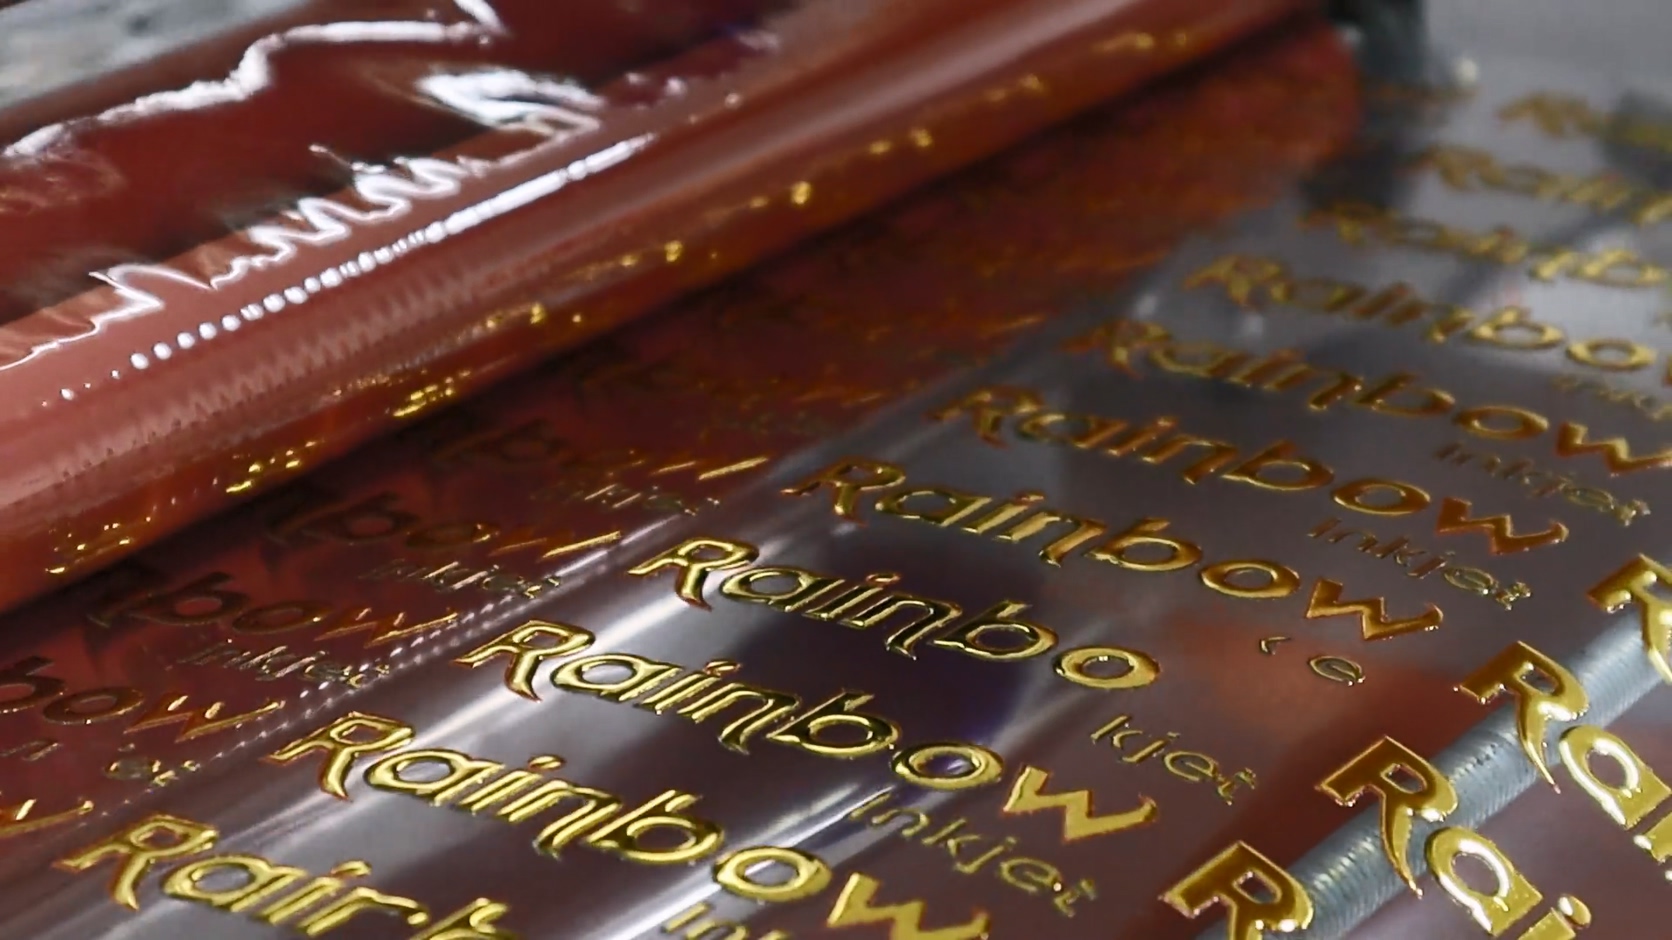
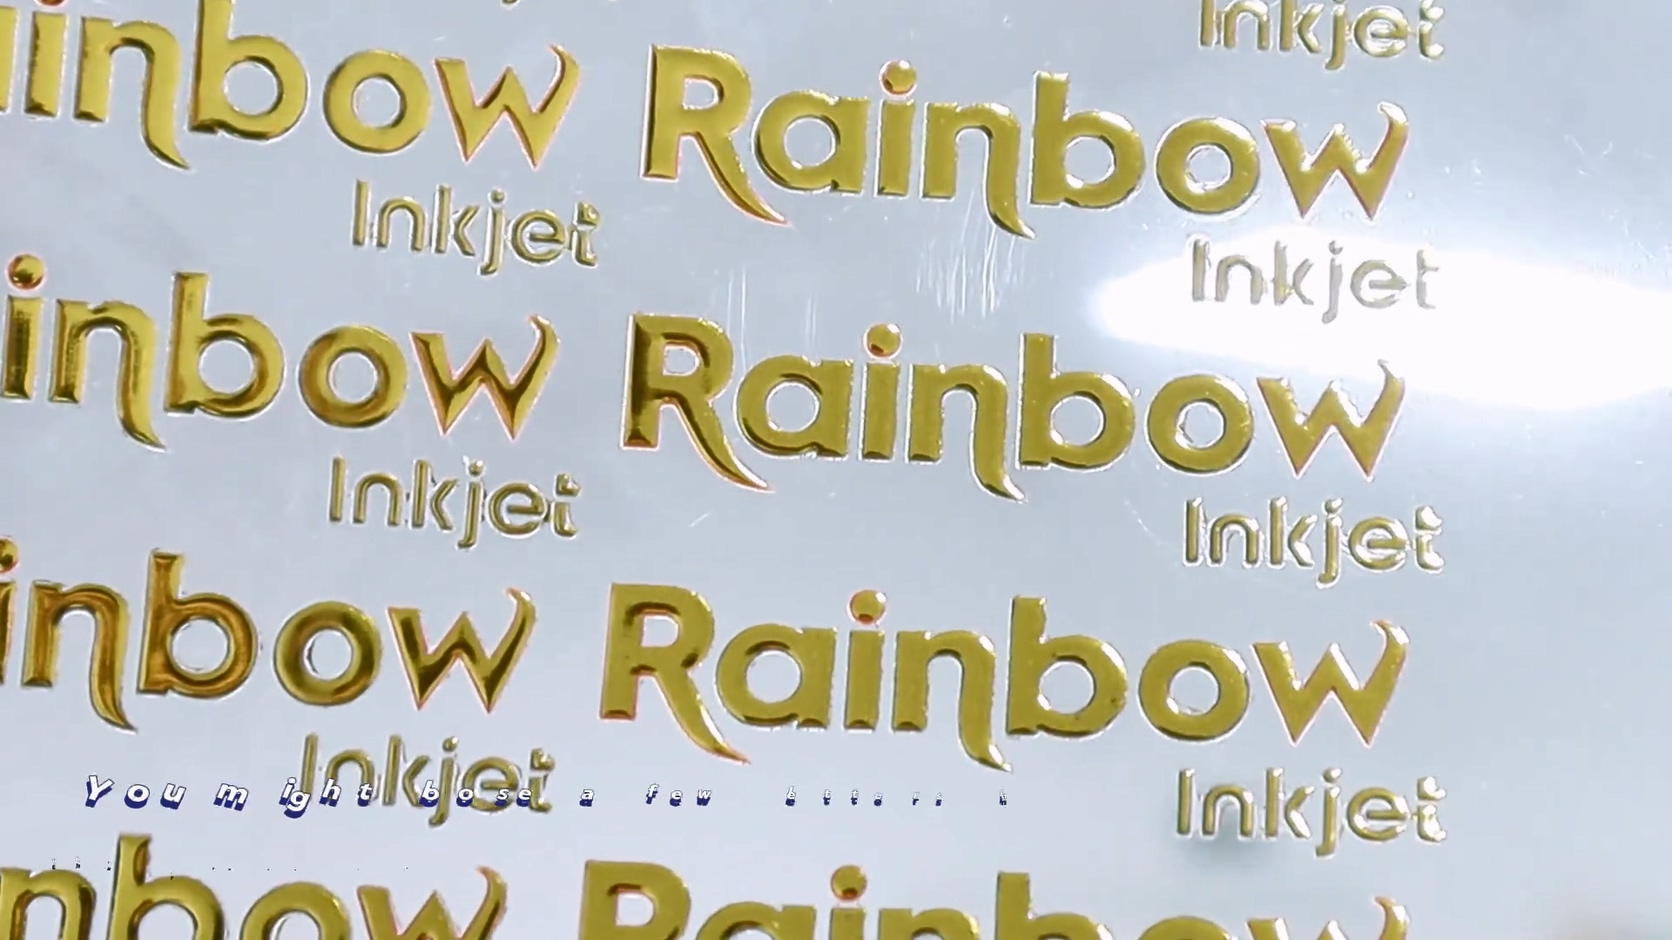
Metallic gold finishes have long been a challenge for UV flatbed printers. In the past, we've experimented with various methods to mimic metallic gold effects but struggled to achieve true photorealistic results. However, with advancements in UV DTF technology, it's now possible to make stunning metallic gold, silver, and even holographic effects on a wide variety of materials. In this article, we'll walk through the process step-by-step.
Required Materials:
- UV flatbed printer capable of printing white and varnish
- Special metallic varnish
- Film set - Film A and B
- Metallic gold/silver/holographic transfer film
- Cold laminating film
- Laminator capable of hot lamination
Step-by-Step Process:
- Replace regular varnish with the special metallic varnish in the printer.
- Print the image on Film A using a white-color-varnish sequence.
- Laminate Film A with cold laminating film and use a 180° peel.
- Laminate the metallic transfer film to Film A with the heat on.
- Laminate Film B over Film A with the heat on to complete the UV DTF sticker.


With this process, you can create customizable metallic UV DTF transfer ready for all kinds of application. The printer itself is not the limiting factor - as long as you have the right materials and equipment, consistent photorealistic metallic effects are achievable. We've had great success producing eye-catching gold, silver, and holographic prints on fabrics, plastics, wood, glass and more.
The printer used in the video and our experiment is Nano 9, and all of our flagship models are capable of doing the same thing.
The core techniques can also be adapted for direct digital printing of metallic graphics without a UV DTF transfer step. If you're interested to learn more about the possibilities of modern UV flatbed printing for special effects, don't hesitate to reach out. We're happy to help you explore everything this technology can do.
Post time: Nov-08-2023
